my name is ali turetzky. i am from the san francisco bay area and love both ballet and baking. i have been training at the san francisco ballet school for the past 4 years. i am excited to share my passion for food (especially sweets) with you all.

-thanks for reading
-xoxo, ali

Sunday, February 23, 2014

douze.

yellow cupcakes with milk chocolate buttercream and marshmallow heart decorations..

Happy (Very, very) Belated Valentines Day! For me, Valentine's Day is a day to wear excessive amounts of pink and to indulge in all and any type of chocolates. Does it get any better than that? Usually I try and stay ahead of the game by making cards and treats for all of my friends a week before the actual date. However, things didn't exactly follow that pattern this year. I was supposed to be on an airplane all Valentine's Day heading to a ballet audition in South Carolina. Due to the ridiculous storms hitting pretty much the entire country though, my flights were cancelled and I had a free weekend at home. With this in mind, I decided to spend a night baking with one of my good friends. I decided on a classic; vanilla cupcakes and chocolate frosting.


To this day, I am still searching for that perfect cake recipe. Am I the only one who finds it near impossible to create a moist, yet dense, but also fluffy and delicious homemade cake? This one comes the closest to that as I have yet to achieve. The yellow cake turned out really well and was enhanced by the fantastic (if I do say so myself) milk chocolate buttercream. 

For these cupcakes, I used one of my favorite cookbooks, "The Craft of Baking", by Karen DeMasco and Mindy Fox. I say this a lot, but this is a pretty straightforward recipe. Cream the butter, sugar and vanilla together…add eggs..so on, so on. What is a little different about this cake recipe is the use of cake flour. Cake flour is finer than the normal all purpose flour which most of us probably always have stocked in our kitchen cabinets. I do believe that the use of this specific flour results in a tastier, more moist cake. 

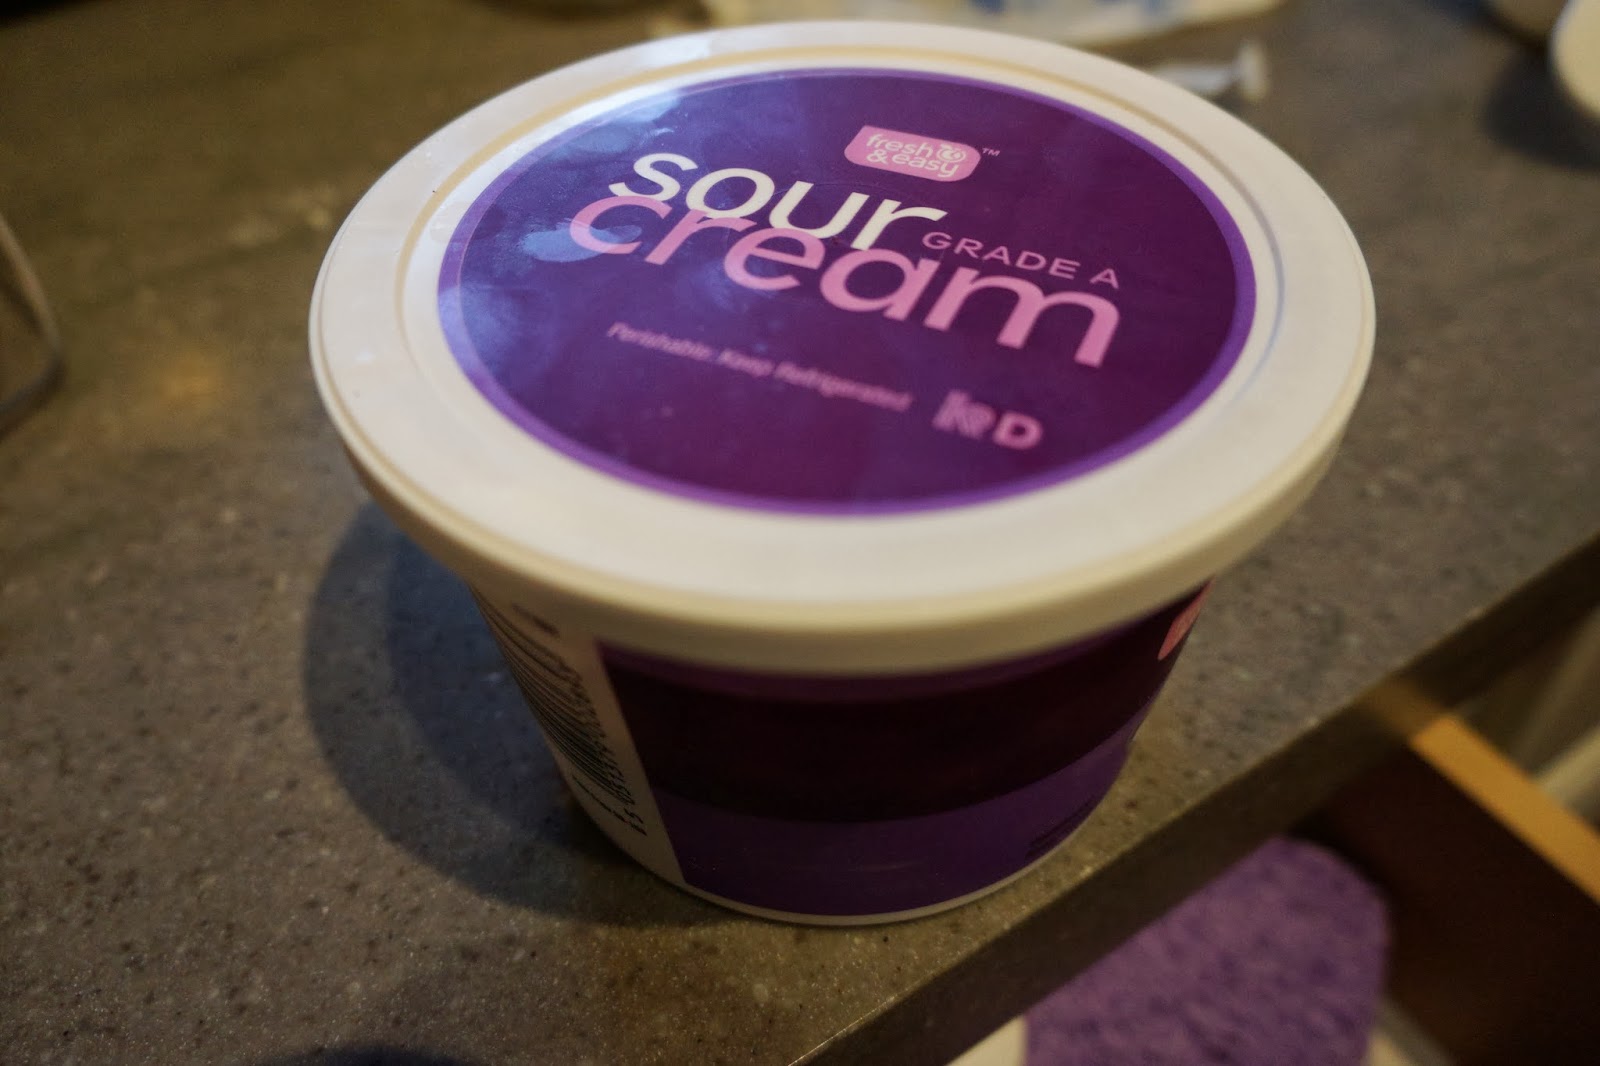
You will have two separate mixtures, one with the flour, baking soda/powder, sour cream (yes! that is correct), and one with the whipped-to-stiff-peaks- egg mixture. You will gently fold the egg mixture into the flour mixture in order to create a light and airy batter. 


Once you have the batter finished, you can pour it into a cake pan, or cupcake tins like I opted for. As my cupcakes were baking, I started the buttercream frosting process. I think that buttercream frosting can be kind of scary to make at first, but it really is worth it. It is rich and this one in particular is full of heavenly milk chocolate, which was the perfect thing for Valentine's Day. 

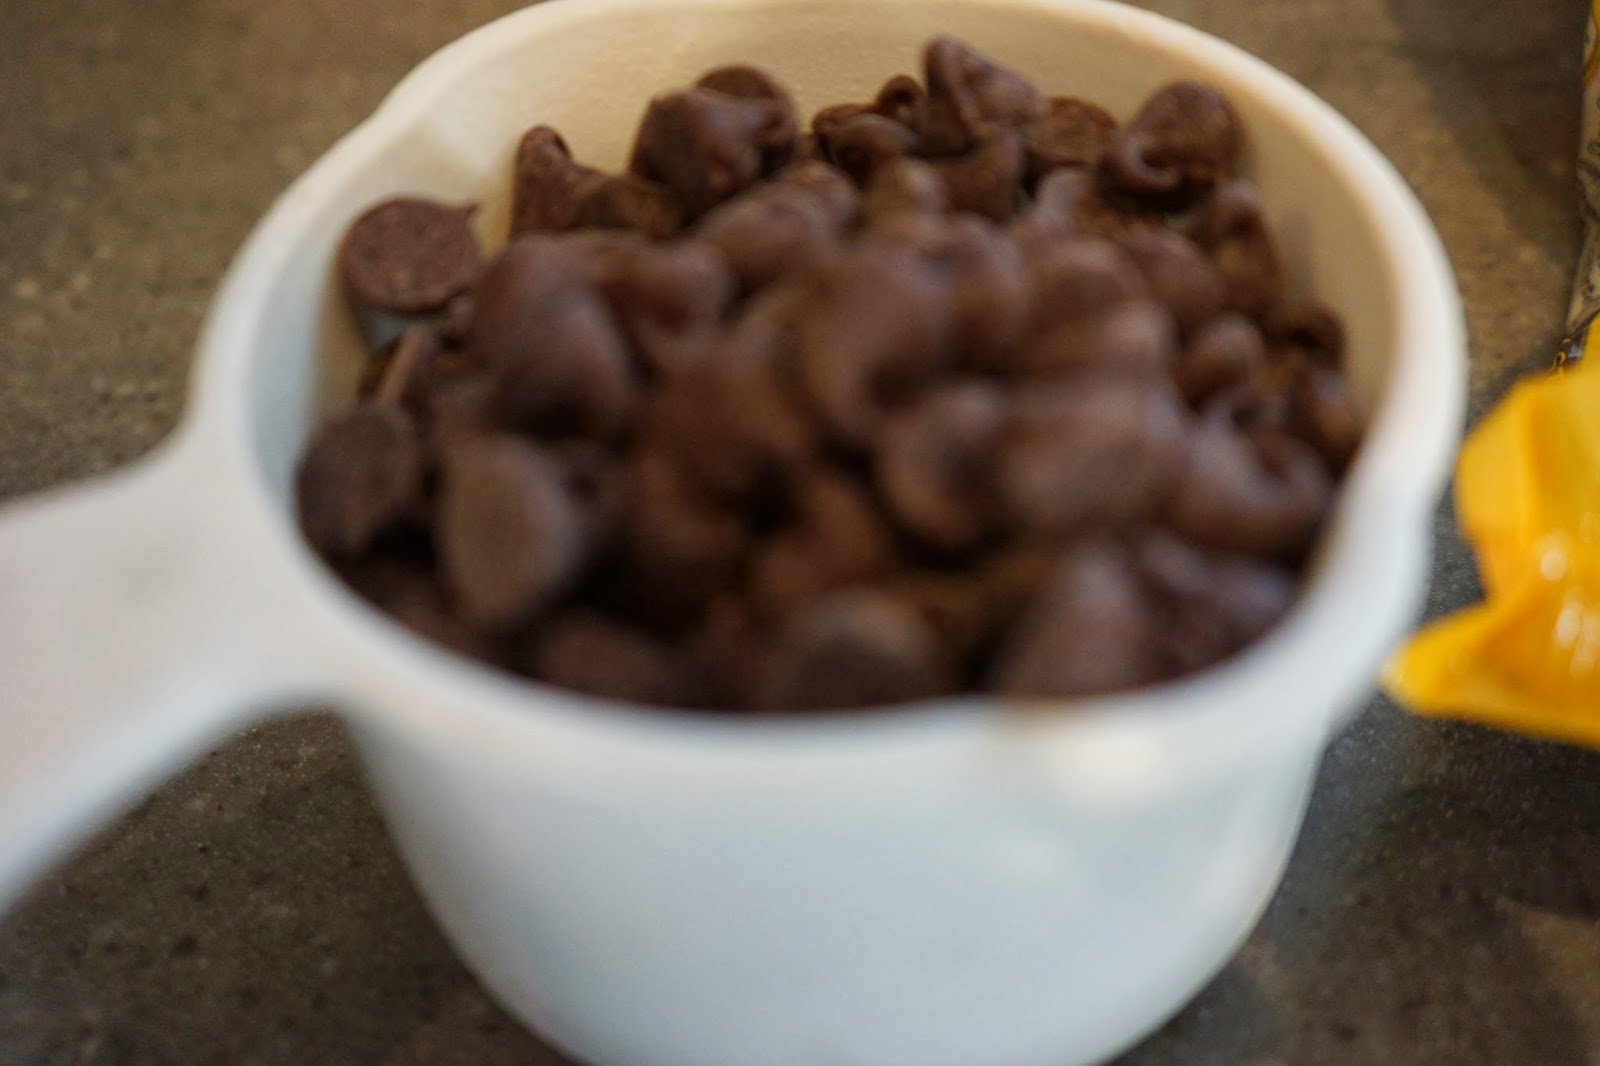
The first step for the frosting is to melt the chocolate over a double broiler. This doesn't take too long and is pretty self-explanatory. 

After that, you basically combine the eggs and sugar and focus your thoughts on keeping the eggs from cooking. That is the tricky part in making buttercream. You don't want the melted chocolate to cook the eggs, you have to be careful and temper is slowly. Once you have the eggs and chocolate combined, it's butter time. And I mean LOTS of butter. It is called buttercream for a reason! 

Once you have both the cupcakes and the frosting ready to go, you are free to frost these miniature delicacies however you may please. I will show you a picture of how I did mine. 


I did add a little homemade marshmallow heart on top of all the cupcakes. I thought it was a fun and festive way to decorate these little treats. I am posting the pictures of the marshmallow-making process, but I would love to dedicate an entire blog post in the future to marshmallows, so I will skip the step by step details for now. 


Voila! Marshmallows! Or rather a marshmallow block; this was "pre-heart cutting". 

Sorry for the little blogging break but I will be back to posting every week!!

-Ali


Tuesday, February 4, 2014

onze.

coconut vanilla granola


Sometimes, in the midst of of a Netflix (Gossip Girl) watching, job application doing, nail painting session, you just crave some granola. Is that just me? I seriously hope not. To me, nothing is better than lazy Sunday mornings curled up on the couch, a great show on TV, bowl of yogurt and homemade granola at hand. Sound like a crazy idea? Just wait until you try this granola..I think you will understand my outlandish sounding morning a little bit better once you do.

So in my opinion, granola is one of the easiest and most satisfying snacks to make. You can literally put in anything you want or have and it will most likely turn out tasting pretty darn delicious. I was reading a couple of different recipes but when I went into the kitchen to start whipping it up, I realized I didn't have half of the ingredients. Instead, I used a recipe as a guideline and subbed in what I had for the ingredients I was missing. It turned into a coconut-vanilla-sunflower-oat-cinnamon mash up that was spectacular!

Basically, all I did for this recipe was throw all of the ingredients in a bowl and mix it up before baking!  What I love about this granola in particular is the use of coconut oil. This is one of my latest obsessions. It is SO good for you, way better than butter. It is an excellent source of energy and has a billion different uses (just search Pinterest). The coconut oil and the maple syrup, I used natural, are the glue to this granola. It binds everything together to form the yummy clumps. 


Once I figured out which ingredients I had and wanted to use, I got to work. Like I said earlier, this recipe is super easy. It's basically just pour, stir, bake. 

I used oats...

Coconut flakes...

Cinnamon and maple syrup...

Sunflower seeds, a bit of brown sugar and ta-da!!

Once I combined all of the ingredients together, I spread it out onto a cookie sheet to bake. The mixture should be sticky enough so that all of the ingredients stick together. 


I baked my granola for about 30 minutes in a 300 degree oven. The time really depends, I would just keep an eye on it until it looks the way you want. My other tip would be to stir the granola every so often so it is cooking evenly. 

Once the granola cools, you are good to go! I poured mine into little mason jars which made it easy to pour some out each time someone wanted to have some (which was quite often). My family gives this recipe a double thumbs up, I would have to agree.


Granola makes for a delicious breakfast or snack. Use it on its own, as cereal, on top of smoothies, or in yogurt. The possibilities really are endless for this one. I hope you guys enjoy!!


Here is the basic recipe I used. I then just tweaked whatever I needed to to fit what ingredients I had. 

ingredients:

2 cups old-fashioned oats
3/4 cup shredded sweetened coconut
1/2 cup chopped almonds
1/3 cup pepitas
2 tablespoons brown sugar
1 teaspoon cinnamon
1/4 teaspoon salt
4 tablespoons coconut oil, melted
1/2 cup pure maple syrup
1 teaspoon vanilla extract
1/4 teaspoon coconut extract

directions:

1. Preheat the oven to 300 degrees F. Line a large baking sheet with a Slipat or parchment paper. Set aside.
2. In a large bowl, combine oats, coconut, almonds, pepitas, brown sugar, cinnamon, and salt. In a small bowl, whisk together coconut oil, maple syrup, vanilla, and coconut extract. Pour liquid mixture over dry ingredients. Stir until dry ingredients are well-coated.
3. Pour the granola mixture onto the prepared baking sheet. Spread granola into an even layer. Bake for 30 minutes or until granola is golden brown, stirring every 10 minutes. Let granola cool completely. Store in an air-tight container for up to 1 month.

-ali


Tuesday, January 28, 2014

dix.


sea salted brown butter chocolate chip cookies:


After a little blogging break; exams week got in the way of my baking creativity, I am back with my tenth blog post on Monday Macaroons!! Although I love all types of desserts, I don't think that anything will be able to top a warm, gooey chocolate chip cookie. My mom was always making her mom's chocolate chip cookie recipe when I was little. I think my sister and I both have that recipe memorized. Anyways, today I was in the mood for this classic cookie. I found a slightly different take on the cookie that uses brown butter and whole wheat flour. I just popped one in my mouth before sitting down here to write this post and I can tell you that these cookies are GOOD. Like flavorful, nutty, chocolatey goodness all mashed into a bite sized treat.


Using brown butter is such a simple way to add another layer of flavor to any recipe. It gives a nutty, carmely kind of taste and works so well with desserts. And the best part? It literally takes about 2 minutes. Just pop a stick of butter (or whatever measurement you are using) into a pan on medium-high heat. Constantly stir the butter as it is melting and bubbling. At about the two minute mark, you will begin to see some brown specks at the bottom of the pan. This is your cue to stop what you are doing and examine your nice work! It really is that simple! 


While you let the brown butter mixture cool, the next step is to cream together your sugar, vanilla, and second, yes I said second, stick of butter. 


Then you add the eggs...

And the flour mixture (yes this recipe calls for whole wheat flour!) 


Once you have the dough mixture combined, you are ready for the best part in my opinion, the chocolate chips! We are using a mixture of semi-sweet and milk chocolate here but I am sure you could use any combination of chocolates that you like. 


After you lick the batters, no I do not believe in the idea that eggs will make you sick, pop the bowl into the fridge for 30 minutes to chill while the oven preheats to 350. Once you wait out the dreaded chilling time (I am always so impatient with this step, I just want to eat the cookies!) all that's left is to roll and bake! 


Before sticking these confections in the oven, don't forget to sprinkle some sea salt on the tops of each cookie. This might sound strange, but it brings out all of the flavor in the cookies and gives you a little bit of a sweet and salty thing! 

These cookies were just what I was craving, even better actually! They were chewy, flavor-packed, and most importantly, chocolatey. The perfect cookie! My family can back me up on this…the pile on the plate is slowly disappearing as I type this. 


brown butter + sea salt chocolate chip cookies
makes 30-36 cookies
ingredients
1 cup (2  sticks) unsalted butter
1 cup light brown sugar
1/2 cup granulated sugar
2 tsp vanilla extract
1 large egg + 1 egg yolk
2 1/4 cups whole-wheat flour
1 tsp salt
1 tsp baking soda
1 cup semi-sweet chocolate chips
1/2 cup milk chocolate chips
1/2 tbsp coarse sea salt for sprinkling
directions
1. To brown butter, heat 1 stick of  butter in a pan over medium-high heat until melted, about 2 minutes. Continue cooking and swirling the pan constantly until the butter is dark golden brown with brown flecks on the bottom of the pan, and you can smell a nutty aroma.  Pour it into a bowl and allow to cool completely.
2. Mix the other stick of butter with the brown sugar and granulated sugar  on medium speed for a few minutes.
3. Add the vanilla to the mixer. 
4. Slowly add the brown butter, then mix on medium speed for another 2 minutes.
5. Add the egg and egg yolk and mix.
6. In a medium bowl, whisk together the flour, salt, and baking soda.  Add the dry mixture to the butter mixture and mix on low until the flour is just incorporated.
7. Add chocolate chips and mix for a few seconds.
8. Pre-heat oven to 350 degrees, then cover and chill the dough in the refrigerator for 30 minutes.
9. Line cookie sheets with  parchment paper and place dough 2 inches apart.
10. Sprinkle each ball with some sea salt.
11. Bake for 10 to 12 minutes, rotating the trays halfway through.
-ali


09 10 11 12
Blogging tips