my name is ali turetzky. i am from the san francisco bay area and love both ballet and baking. i have been training at the san francisco ballet school for the past 4 years. i am excited to share my passion for food (especially sweets) with you all.

-thanks for reading
-xoxo, ali

Monday, June 2, 2014

Quatorze.

LE BRUNCH BUNCH.


Woot Woot! I am so happy to be back and blogging again after quite a long break! End of the year craziness kind of took hold of me for a while there! I am still in the midst of graduation, parties, and getting a million things done, but I have a new and exciting blog post for everyone!!!

Brunch. Anyone else agree with me on the fact that brunch is the loveliest, happiest meal ever? I am a huge fan. Scones, waffles, steaming mugs of coffee, good company; could anything beat that? I would say no! As summer is approaching and things are winding down, I decided to host a brunch for all my friends from my class at Sfb (san francisco ballet school). I wanted to have our class together before everyone left for their respective homes all over the world. Me being me, I decided to make everything myself. The menu I had planned consisted of the following: chocolate chip brioche pretzels, chocolate macarons with pistachio buttercream, eggs, bacon, toast, fruit/granola cups, and miniature bundt cakes. Let the baking commence!!


1.) Chocolate Macarons with Pistachio Buttercream: 
     Since I already have done a blog post about macaron-making, I am going to keep this short and sweet. For both the macaron shell and the buttercream, I used recipes from "Les Petites Macarons", which I will link below. 


For a more detailed macaron how-to, refer to my previous blog post!

2.) Chocolate Chip Brioche Pretzels
What first caught my eye in terms of this recipe was the pretzel. Brioche was on my list of things I had been wanting to make for quite a while, but I hadn't ever heard of "brioche pretzels" until this one popped out at me in my "Smitten Kitchen Cookbook".

Brioche is a unique bread, slightly sweet, with a truly unique texture and composition. Add in chocolate, and it is hard to beat. I made my brioche dough a day ahead of time just to get one thing out of the way. I kept in refrigerated until I had time to let it rise and bake it for the brunch!

You start with a very basic dough recipe. 


You mix this for a very long time. What set's brioche aside from other types of bread is the long knead-time. It creates the dense, yet soft and airy texture. After this, you add in butter. Sounding good yet?


OH yeah, and chocolate..

Now don't tell me that you aren't secretly wishing this was currently in a bowl at your house right now. It's the same thought that was running through my mind as I looked at the picture in the cookbook. 

After the dough has risen, it is pretzel making time!


Woohoo! 

The brunch was a success. Aside from the pretzels and macarons, we enjoyed fruit, granola, eggs, toast, and bundt cakes! 

Good food, good friends, good times. 

-ali


Monday, March 24, 2014

treize.

MACARONS.

So I am going to go on a rant here so just bear with me. About four years ago, right when I first started training at the San Francisco Ballet School, I ran across this incredible little candy store/bakery in SF called Miette. It is the cutest shop, I highly suggest paying it a visit if you are in the Bay Area. Anyways, they are known for their French macarons. Many people think of macarons as those heavy coconut treats, but the French version is very different. They are basically sandwich cookies with a little shell; crisp on the outside and chewy in the center.

These are my absolute favorite treat, hands down. You could say that I am obsessed. Since I love to bake (hence this blog) it was only natural that I try making these tasty cookies. The only thing is that these are known to be some of the most challenging cookies/pastries to make. It is very scientific and the cookies are just very finicky. Most of the time on my blog I post success stories and pretty pictures. I will continue to do so on this post right after I say this one thing. THESE MACARONS TOOK ME 4 TRIES. Yes, 4. The first couple of times the shells came out lumpy and not exactly delicate little treats. Then, a few days ago I decided to try once again. I have at least three recipe books with macaron recipes and I read through them all hoping to be enlightened with what I was doing wrong. I crossed my fingers and was once again let down. This time I ended up with flat little wafers…not at all what I was going for. Finally, after I thought I was going to give up and go buy a box of already made macarons, I saw on Facebook that it was National Macaron Day. I thought to myself, "I have to, and they have to work this time". Sooo, this time I read through blogs, watched multiple Youtube tutorials, and I felt as prepared as I could get. And guess what? They worked! I literally danced around my kitchen when I saw the shells popping up beautifully in the oven. 

Before:
After:


As the pictures show, there was a huge difference between the disaster batch and the "yes it finally worked" batch. 

For those of you who are not familiar with macarons, here is a little diagram explaining the different parts to this cookie. 

Basically there are three parts to making the macarons. 1) almond meal and powdered sugar mixture 2) egg meringue 3) filling
I purchased almond meal at Trader Joe's before making the cookies but I know you can also grind your own. First thing you do is sift the confectioner's sugar and the almond meal together. I did this twice in order to get the smoothest possible texture in the cookies. You don't want chunky macaron shells!


After you have that mixture ready to go, you can move on to the eggs. After researching, I found out that you get better results if you use older eggs. Apparently it has something to do with the proteins in the less fresh eggs. Anyways, I had some old eggs and I left them out for a few hours before I used them. The key to the macaron shells is whipping the eggs until they become VERY firm. This is where I messed up the first time. When you combine the sugar, egg whites, and food coloring (with more direction than that) you should be able to tap the whisk and have the egg whites hold their shape and not fall. 


Next up comes the folding..here is where it can all go wrong. Undermix and you will get cracked macarons. Overmix and they will flatten out, just like my failed attempt. You need to gently fold the egg whites into the almond mixture. This should be a very slow and gentle process. Just mix until the ingredients turn into a lava like mixture that flows. Then stop! Do not over mix!


The hard part is officially over and now you just have to pipe the cookies and bake!!


After piping, you are supposed to smack the cookie sheet down on the counter in order to release all of the air bubbles. Once you do this, let the cookies sit out for 20-30 minutes. This is when the "shell" forms. It is a vital step in the recipe, so don't rush this. 

Once you have patiently waited, go ahead and slide these bad boys in the oven. I started making my raspberry buttercream while the shells baked. I chose this filling for it's pretty pink color that I knew would match the pink macaron shells. It was actually super easy. I just took some fresh raspberries and mushed them through a strainer in order to get the juice from them. 


Then I just added that to a basic buttercream recipe and I was set! I pulled the shells out of the oven and admired my hard work! 
When I saw that they had risen and formed "feet" I literally did a little happy dance. Woohoo! Success never tasted so good :) haha

I filled the shells with the buttercream and enjoyed!


-ali


Sunday, February 23, 2014

douze.

yellow cupcakes with milk chocolate buttercream and marshmallow heart decorations..

Happy (Very, very) Belated Valentines Day! For me, Valentine's Day is a day to wear excessive amounts of pink and to indulge in all and any type of chocolates. Does it get any better than that? Usually I try and stay ahead of the game by making cards and treats for all of my friends a week before the actual date. However, things didn't exactly follow that pattern this year. I was supposed to be on an airplane all Valentine's Day heading to a ballet audition in South Carolina. Due to the ridiculous storms hitting pretty much the entire country though, my flights were cancelled and I had a free weekend at home. With this in mind, I decided to spend a night baking with one of my good friends. I decided on a classic; vanilla cupcakes and chocolate frosting.


To this day, I am still searching for that perfect cake recipe. Am I the only one who finds it near impossible to create a moist, yet dense, but also fluffy and delicious homemade cake? This one comes the closest to that as I have yet to achieve. The yellow cake turned out really well and was enhanced by the fantastic (if I do say so myself) milk chocolate buttercream. 

For these cupcakes, I used one of my favorite cookbooks, "The Craft of Baking", by Karen DeMasco and Mindy Fox. I say this a lot, but this is a pretty straightforward recipe. Cream the butter, sugar and vanilla together…add eggs..so on, so on. What is a little different about this cake recipe is the use of cake flour. Cake flour is finer than the normal all purpose flour which most of us probably always have stocked in our kitchen cabinets. I do believe that the use of this specific flour results in a tastier, more moist cake. 

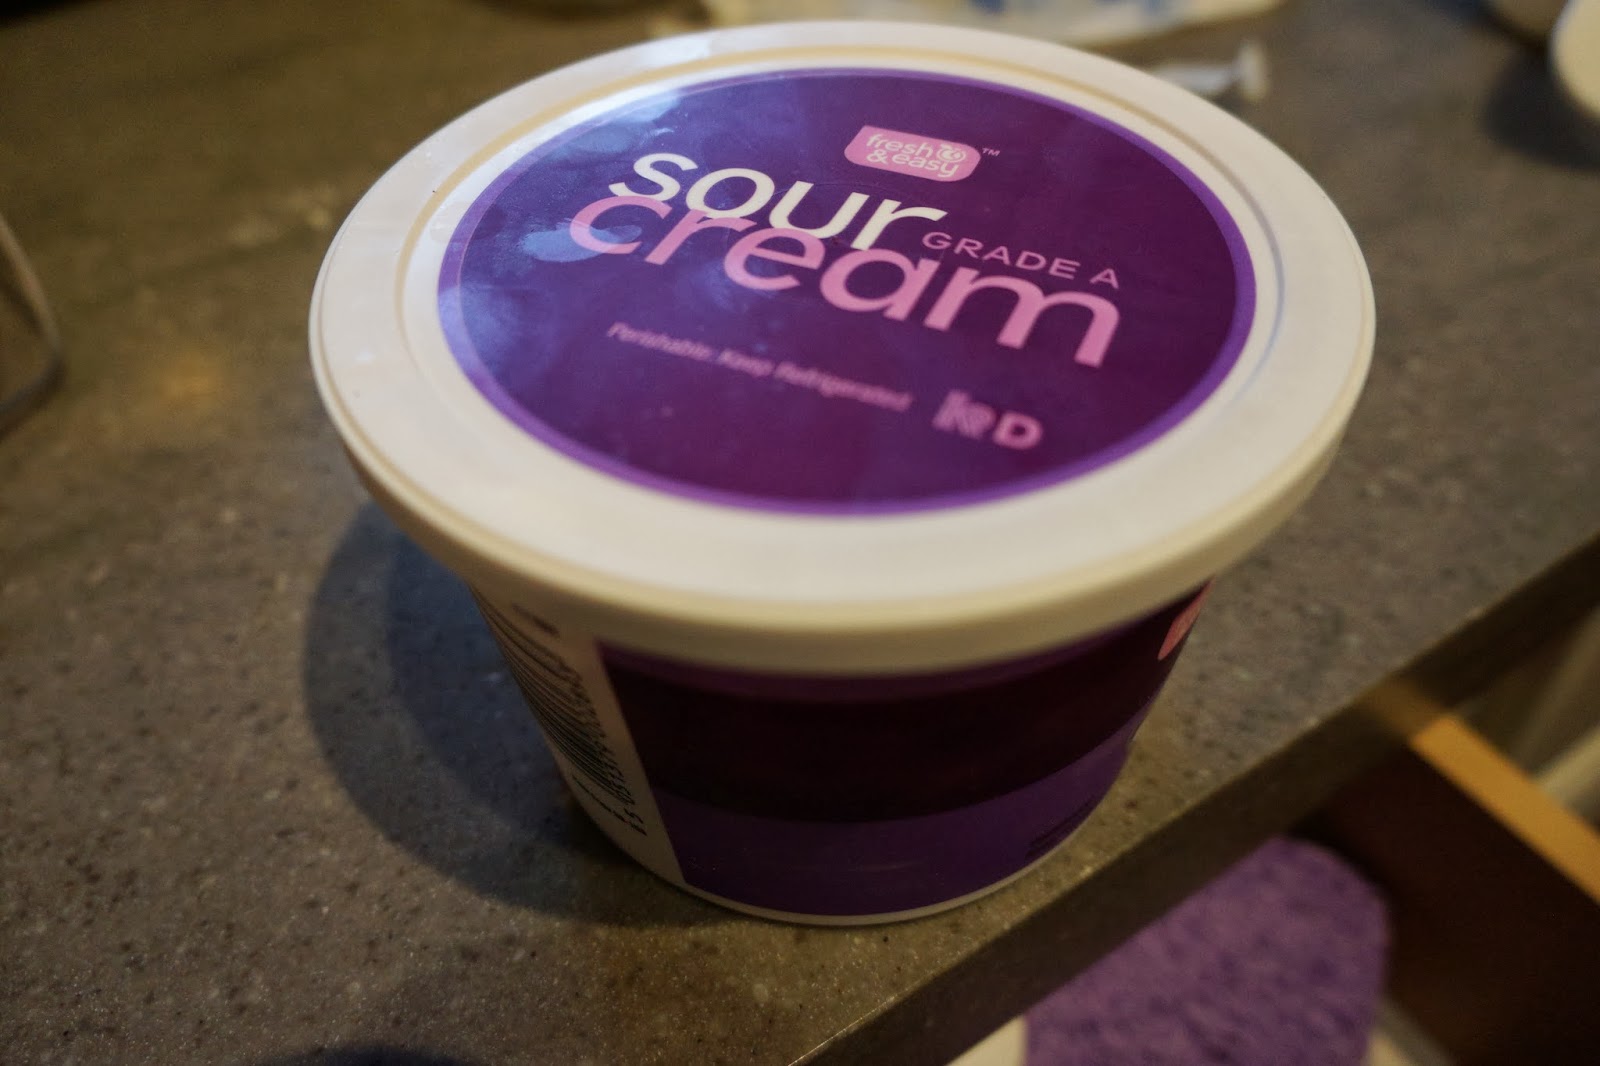
You will have two separate mixtures, one with the flour, baking soda/powder, sour cream (yes! that is correct), and one with the whipped-to-stiff-peaks- egg mixture. You will gently fold the egg mixture into the flour mixture in order to create a light and airy batter. 


Once you have the batter finished, you can pour it into a cake pan, or cupcake tins like I opted for. As my cupcakes were baking, I started the buttercream frosting process. I think that buttercream frosting can be kind of scary to make at first, but it really is worth it. It is rich and this one in particular is full of heavenly milk chocolate, which was the perfect thing for Valentine's Day. 

The first step for the frosting is to melt the chocolate over a double broiler. This doesn't take too long and is pretty self-explanatory. 

After that, you basically combine the eggs and sugar and focus your thoughts on keeping the eggs from cooking. That is the tricky part in making buttercream. You don't want the melted chocolate to cook the eggs, you have to be careful and temper is slowly. Once you have the eggs and chocolate combined, it's butter time. And I mean LOTS of butter. It is called buttercream for a reason! 

Once you have both the cupcakes and the frosting ready to go, you are free to frost these miniature delicacies however you may please. I will show you a picture of how I did mine. 


I did add a little homemade marshmallow heart on top of all the cupcakes. I thought it was a fun and festive way to decorate these little treats. I am posting the pictures of the marshmallow-making process, but I would love to dedicate an entire blog post in the future to marshmallows, so I will skip the step by step details for now. 


Voila! Marshmallows! Or rather a marshmallow block; this was "pre-heart cutting". 

Sorry for the little blogging break but I will be back to posting every week!!

-Ali


09 10 11 12
Blogging tips