my name is ali turetzky. i am from the san francisco bay area and love both ballet and baking. i have been training at the san francisco ballet school for the past 4 years. i am excited to share my passion for food (especially sweets) with you all.

-thanks for reading
-xoxo, ali

Tuesday, January 28, 2014

dix.


sea salted brown butter chocolate chip cookies:


After a little blogging break; exams week got in the way of my baking creativity, I am back with my tenth blog post on Monday Macaroons!! Although I love all types of desserts, I don't think that anything will be able to top a warm, gooey chocolate chip cookie. My mom was always making her mom's chocolate chip cookie recipe when I was little. I think my sister and I both have that recipe memorized. Anyways, today I was in the mood for this classic cookie. I found a slightly different take on the cookie that uses brown butter and whole wheat flour. I just popped one in my mouth before sitting down here to write this post and I can tell you that these cookies are GOOD. Like flavorful, nutty, chocolatey goodness all mashed into a bite sized treat.


Using brown butter is such a simple way to add another layer of flavor to any recipe. It gives a nutty, carmely kind of taste and works so well with desserts. And the best part? It literally takes about 2 minutes. Just pop a stick of butter (or whatever measurement you are using) into a pan on medium-high heat. Constantly stir the butter as it is melting and bubbling. At about the two minute mark, you will begin to see some brown specks at the bottom of the pan. This is your cue to stop what you are doing and examine your nice work! It really is that simple! 


While you let the brown butter mixture cool, the next step is to cream together your sugar, vanilla, and second, yes I said second, stick of butter. 


Then you add the eggs...

And the flour mixture (yes this recipe calls for whole wheat flour!) 


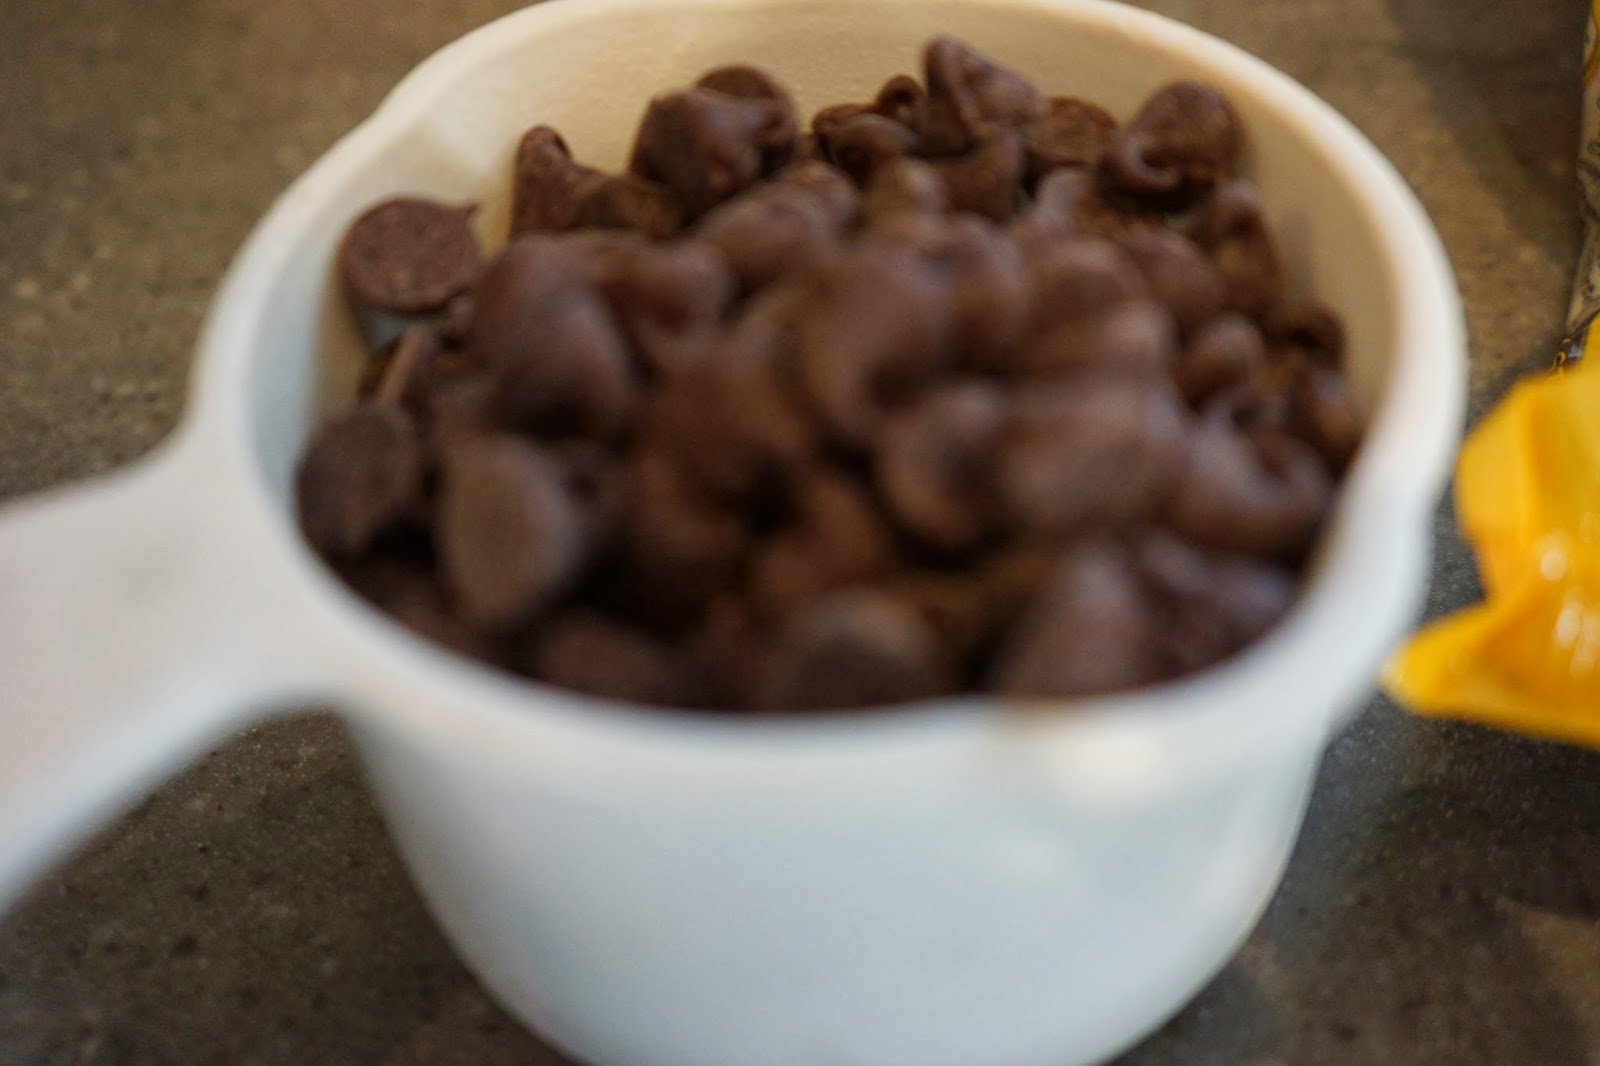
Once you have the dough mixture combined, you are ready for the best part in my opinion, the chocolate chips! We are using a mixture of semi-sweet and milk chocolate here but I am sure you could use any combination of chocolates that you like. 


After you lick the batters, no I do not believe in the idea that eggs will make you sick, pop the bowl into the fridge for 30 minutes to chill while the oven preheats to 350. Once you wait out the dreaded chilling time (I am always so impatient with this step, I just want to eat the cookies!) all that's left is to roll and bake! 


Before sticking these confections in the oven, don't forget to sprinkle some sea salt on the tops of each cookie. This might sound strange, but it brings out all of the flavor in the cookies and gives you a little bit of a sweet and salty thing! 

These cookies were just what I was craving, even better actually! They were chewy, flavor-packed, and most importantly, chocolatey. The perfect cookie! My family can back me up on this…the pile on the plate is slowly disappearing as I type this. 


brown butter + sea salt chocolate chip cookies
makes 30-36 cookies
ingredients
1 cup (2  sticks) unsalted butter
1 cup light brown sugar
1/2 cup granulated sugar
2 tsp vanilla extract
1 large egg + 1 egg yolk
2 1/4 cups whole-wheat flour
1 tsp salt
1 tsp baking soda
1 cup semi-sweet chocolate chips
1/2 cup milk chocolate chips
1/2 tbsp coarse sea salt for sprinkling
directions
1. To brown butter, heat 1 stick of  butter in a pan over medium-high heat until melted, about 2 minutes. Continue cooking and swirling the pan constantly until the butter is dark golden brown with brown flecks on the bottom of the pan, and you can smell a nutty aroma.  Pour it into a bowl and allow to cool completely.
2. Mix the other stick of butter with the brown sugar and granulated sugar  on medium speed for a few minutes.
3. Add the vanilla to the mixer. 
4. Slowly add the brown butter, then mix on medium speed for another 2 minutes.
5. Add the egg and egg yolk and mix.
6. In a medium bowl, whisk together the flour, salt, and baking soda.  Add the dry mixture to the butter mixture and mix on low until the flour is just incorporated.
7. Add chocolate chips and mix for a few seconds.
8. Pre-heat oven to 350 degrees, then cover and chill the dough in the refrigerator for 30 minutes.
9. Line cookie sheets with  parchment paper and place dough 2 inches apart.
10. Sprinkle each ball with some sea salt.
11. Bake for 10 to 12 minutes, rotating the trays halfway through.
-ali


Sunday, January 12, 2014

neuf.

As the new year begins, I am really trying to eat a healthier, more natural diet. Veggies, fruits, organic anything…I am focusing on eating things that will make my body feel good! And lucky for me, and many others who also are interested in healthy, whole food eating, there are tons and tons of amazing websites, blogs, and Instagram accounts dedicated to just that. I have been doing some research online and I have found a few recipes that I am dying to try.

Today, I will be showing you how to make your own, homemade vanilla almond milk. Almond milk is a great alternative to traditional milk as it is a non-dairy milk that contains an extra dose of healthy proteins! Plus, it tastes great. It is a little bit sweet and has a nutty taste to it thanks to the almonds. I personally love putting this vanilla almond milk in my coffee or oatmeal!

Making almond milk isn't terribly difficult, I only warn you to set aside two days to complete the process because you need to soak your almonds. All of the recipes I found suggested that you soak your almonds (in water) for at least eight hours. This soaking process plumps and softens the almonds, making them easier for your body to digest. 


Once your almonds are ready to go, you are set to begin your almond milk-making adventures. To make the milk, you will either need a blender, or a food-processor. I actually used a nutri-bullet which worked well too. All you need to do now is add all of your ingredients into the blender/food-processor. 1 cup of the pre-soaked almonds, 2 cups of filtered water, 1 vanilla bean and you are set! Depending on how sweet you like your milk, you can add stevia, agave or any other sweeteners. You can also add a little bit of cinnamon for a slightly different flavor. It is all up to you and is very simple to alter if you want to change things up a bit. 


This picture directly above shows how the blended mixture will look. It is a thick, slightly goopey mixture and definitely not what milk should look like! But not to worry, you aren't quite finished yet! You actually need to strain this mixture with a fine mesh strainer or cheesecloth. I had my sister help me out with this part because it requires a few hands in my opinion. 


I had my sister hold the cheesecloth over a bowl as I slowly poured some of the mixture on top. Only part of the milk will filter through on it's own so I actually gathered the cloth together so that I could squeeze the rest of the liquid out. I repeated this process until I had used up all of that first mixture. You should end up with a bowl of yummy looking almond milk! You will also have the leftover almond meal from the cheesecloth (the stuff that wasn't filtered through into the milk). You can either throw this out, or use it in cookies, oatmeal, granola…there are many options! 

I then poured my milk from the bowl into a bottle for easy use! 


Just remember to use the almond milk within a few days of making it due to the fact that is is completely natural and was not pasteurized. Enjoy! 

Ingredients
1 cup raw almonds, preferably organic
2 cups water, plus more for soaking
Sweeteners like honey, sugar, agave syrup, or maple syrup, to taste, optional
Equipment
Bowls
Strainer
Measuring cup
Blender or food processor
Fine-mesh nut bag or cheese cloth

Instructions

  1. Soak the almonds overnight or up to 2 days. Place the almonds in a bowl and cover with about an inch of water. They will plump as they absorb water. Let stand, uncovered, overnight or up to 2 days. The longer the almonds soak, the creamier the almond milk.
  2. Drain and rinse the almonds. Drain the almonds from their soaking water and rinse them thoroughly under cool running water. At this point, the almonds should feel a little squishy if you pinch them.
  3. Combine the almonds and water in a blender. Place the almonds in the blender and cover with 2 cups of water. 
  4. Blend at the highest speed for 2 minutes. Pulse the blender a few times to break up the almonds, then blend continuously for two minutes. The almonds should be broken down into a very fine meal and the water should be white and opaque. (If using a food processor, process for 4 minutes total, pausing to scrape down the sides halfway through.)
  5. Strain the almonds. Line the strainer with either the opened nut bag or cheese cloth, and place over a measuring cup. Pour the almond mixture into the strainer. 
  6. Press all the almond milk from the almond meal. Gather the nut bag or cheese cloth around the almond meal and twist close. Squeeze and press with clean hands to extract as much almond milk as possible. You should get about 2 cups. (See Recipe Note for what to do with the leftover almond meal.)
  7. Sweeten to taste. Taste the almond milk, and if a sweeter drink is desired, add sweetener to taste.
  8. Refrigerate almond milk. Store the almond milk in sealed containers in the fridge for up to two days.


Monday, January 6, 2014

huit.

Aside from baking and ballet, one of my favorite things to do in my free time is to read. Read anything. Books, magazines, cookbooks…anyways, I recently finished The Storyteller, by Jodi Picoult. It has to do with the Holocaust and it is a wonderful book that I highly suggest. Why am I talking about book when this is a food blog you might ask? Well after finishing up the book, my english teacher gave me a printout with book club discussions and a recipe for chocolate cinnamon bread (this recipe is talked about many times in this book). I was excited to combine together my interests of baking and reading.


These mouthwatering buns really are as good as they look. The bread is not sweetened, but is very nicely balanced out by the sweet and spicy flavors of the bittersweet chocolate and cinnamon which are a part of the filling. 

The recipe is easy to follow and fun to make. It requires a fair amount of time purely based on the fact that we are dealing with yeast and dough rising. 

You start by combining warm milk, yeast, and a pinch of sugar. 


Once this combination begins to foam, (isn't science cool?!) you prepare an egg mixture. After combining the yeast combo to the egg mixture you are ready to get going. Simply add flour and salt and  you are set! 


I always use my Kitchen Aid mixture for my recipes. It is especially great because of the different attachments. For this bread recipe, I used the dough hook which allows for a kneading movement. When you have the dough ready, add 3 tablespoons of butter and leave your concoction to be kneaded by the dough hook. 


Once you have completed this step and the dough looks like dough, pop it into a bowl, cover it with a dish towel, and leave it in a warm spot to rise. 

I am always amazed at how you can mix such simple ingredients and literally watch it grow before your eyes. After an hour in the covered bowl, you should have a lovely, puffed ball of goodness. In the mean time however, I suggest working on the chocolate-cinnamon filling. This is super simple, I just popped the squares of bittersweet chocolate, teaspoon of cinnamon, and 3 tbs of butter into my Nutribullet for a few seconds and it was done. This mixture should be crumbly. 


Now you should have the risen dough, and chocolate mixture all ready to put together. Place the dough onto a floured surface and get ready to roll!! 


Once you roll the dough into a somewhat rectangular shape, sprinkle/spread the chocolate combination on top and roll it all up. YUM!


Now all that is left to do is cut, place, and bake. Cut 2 inch pieces off of the roll and place them each into a buttered cupcake tin. Bake for 12-15 minutes and you have a gooey, melted-chocolatey, fresh bread roll. 


I was thrilled with how these rolls turned out. They had a wonderful flavor with a hint of cinnamon with out becoming too sweet. I am sure this dough recipe would work well with different fillings and toppings. This was a fun one!

Minka’s Roll 

Ingredients 

• 1/2 cup warm milk, 110 degrees 

• 2 teaspoons active dry yeast 

• 1/2 cup sugar, plus a pinch 

• 1 large egg, room temperature 

• 1 large egg yolk 

• 2 cups all-purpose flour, plus more for work surface 

• 1/4 teaspoon salt 

• 6 tablespoons unsalted butter, plus more for bowl and muffin tin 

• ¼ pound bittersweet chocolate, very finely chopped or shaved 

• 1 teaspoon cinnamon 

Directions 

1.Butter a large non-reactive bowl for dough and set aside. 2.Butter a 12-cup muffin tin and set aside. 

3.Pour warm milk into a small bowl. Sprinkle yeast and pinch of sugar over milk; let stand until foamy, about 5 minutes. 

4.In a bowl, whisk together ¼ cup sugar, 1 egg, and 1 egg yolk. Add egg mixture to yeast mixture, and whisk to combine. 

5.In the bowl of an electric mixer fitted with the paddle attachment, combine flour and salt. Add egg mixture, and beat on low speed until almost all the flour is incorporated. 

6.Change to the dough hook. Add 3 tablespoons butter, and knead on low speed until flour mixture and butter are completely incorporated, about 10 minutes. Dough will be sticky. 

7.Butter a large bowl. Place dough in bowl and cover with plastic wrap or a dish towel. Set aside in a warm place to rise until dough doubles in size, about 1 hour. 

8.If dough is not in a warm area it may take longer to rise. A simple trick to help warm your dough – place a large pan of boiling water on the lowest rack in your oven and place bowl of dough on the next highest rack. This should help the dough rise. 

9.Prepare filling: Place chocolate, remaining ¼ cup sugar, and cinnamon in a large bowl, and stir to combine. Add 3 tablespoons butter and toss to combine. Alternately, place chocolate, cinnamon and butter in food processor and pulse to combine. Set aside. 

10.Once dough has doubled, turn onto a well-floured surface and deflate. Let dough rest for 5 minutes. 

11.With rolling pin, roll dough into large rectangle shape. Sprinkle filling over dough; roll the dough into a log and slice into 2” pieces. Place each slice in muffin cup. Cover muffin tin with plastic and let sit for 15-20 minutes or until dough rises slightly. 

12.Pre-heat oven to 350 degrees. 

13.Bake for approximately 12-15 minutes. Remove from oven and cool on wire rack. - See more at: http://books.simonandschuster.com/Storyteller/Jodi-Picoult/9781439102770/reading_group_guide#sthash.mCmRqiCP.dpuf


09 10 11 12
Blogging tips